Introduction
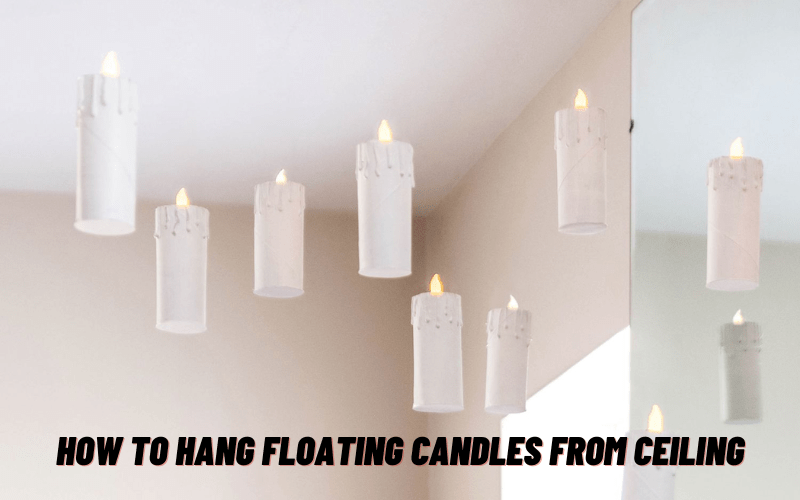
For any event, such as a wedding, dinner party, or special occasion, hanging floating candles from the ceiling is a terrific way to create a cozy and welcoming atmosphere.
It may also make a lovely and distinctive addition to your home’s decor. Although it may look difficult, it is rather simple to do with the correct methods and instruments. Bolsius floating candles are the best candles.
What are floating Candles?
Candles that float in water or other liquids are known as floating candles. They frequently have flat bottoms, which enable them to float on the water’s surface.
Floating candles are available in a wide range of forms, dimensions, and hues, and they are frequently employed as ornamental accents in floral arrangements, swimming pools, and other water features.
They come in both scented and unscented types and can be created from various ingredients, such as wax, soy, or paraffin. Floating candles are frequently employed to create a romantic and beautiful atmosphere at weddings, parties, and other special occasions.
We will show you how to hang floating candles from ceiling in this article, step by step.
Materials needed:
- Floating candles
- Fishing line or clear nylon thread
- Tape measure
- Scissors
- Command hooks or ceiling hooks
- Ladder or step stool
- Water or vase
Step 1: Identify the location
Deciding where to place the floating candles is the first step in hanging them from the ceiling. Choose a secure spot away from anything that may catch fire, such as drapes or furniture. You may hang them above a table, in a room corner, or in the center of the ceiling to create a focal point.
Step 2: Calculate the distance
Measure the distance using a tape measure between the ceiling and the intended placement for the floating candles. This will enable you to calculate the required length of the transparent nylon thread or fishing line.
Step 3 is to cut the fishing line.
Cut the fishing line or clear nylon thread to the required length, adding one or two additional feet to allow changes.
Step 4: Connect the floating candles
Securely wrap the transparent nylon thread or fishing line around the base of each floating candle. To make hanging simpler, you can also tie a little knot or loop at the top of the thread.
Step 5: Screw the hooks in
Please ensure the Command or ceiling hooks are level and firmly connected before attaching them to the ceiling in the appropriate area. Make careful to adhere to the application and removal guidelines if you use command hooks.
Step 6: Attach the other end of
The fishing line or transparent nylon thread to the hooks and hang the floating candles there, adjusting the height as necessary. Get the proper height and uniform distribution of the floating candles.
Step 7: Add candles to a vase or other container
If you’d like, you can also use the floating candles to make a gorgeous centerpiece by placing them in a vase or other water-filled container.
Step 8: Light the candles
The floating candles may be lit with matches or a long lighter once strung. Candles should never be left alone; always keep an eye on them.
Try this Product for hanging floating candles from the ceiling
Bolsius Floating Candles:
These Bolsius floating candles are the perfect addition to any party or event. They are made of high-quality wax and come in a beautiful red color.
The candles are also non-drip and smokeless, making them safe and easy to use. They are perfect for floating in a bowl of water or using as centerpieces.
This set includes 20 candles, so you can create a truly stunning display.
Pros:
- Made of high-quality wax
- Beautiful red color
- Non-drip and smokeless
- Safe and easy to use
- Perfect for floating in a bowl of water or using as centerpieces
- Comes in a set of 20
Cons:
- Some candles may have a damaged coating
- Can be a bit pricey
Conclusion
Any location or occasion may benefit from the distinctive and lovely touch of hanging floating candles from the ceiling. These detailed instructions will help you produce a beautiful visual effect astounding your visitors.
Always put safety first and select the appropriate supplies and tools for the work. You may create a special moment that will make an impact with a little bit of time and ingenuity.
Read More: is expanding foam waterproof


